EasyClockIn App (Android) Quick Guide
App Loading Screen
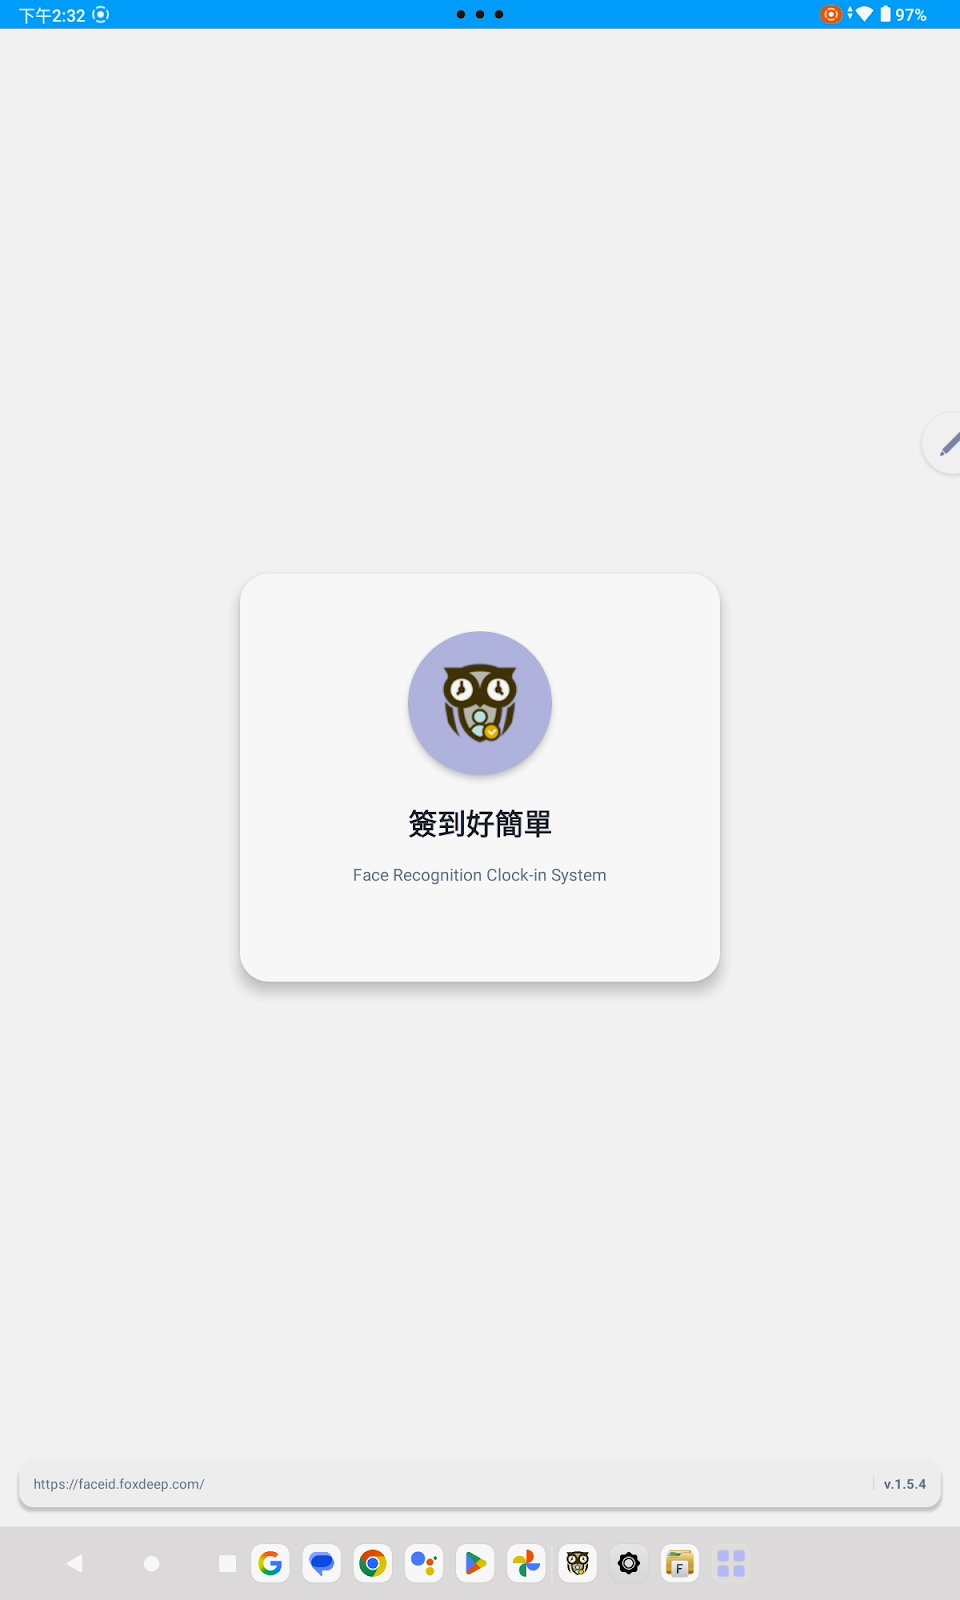
Upon launching the App, the App Loading Screen will appear first.
Initial Device Settings
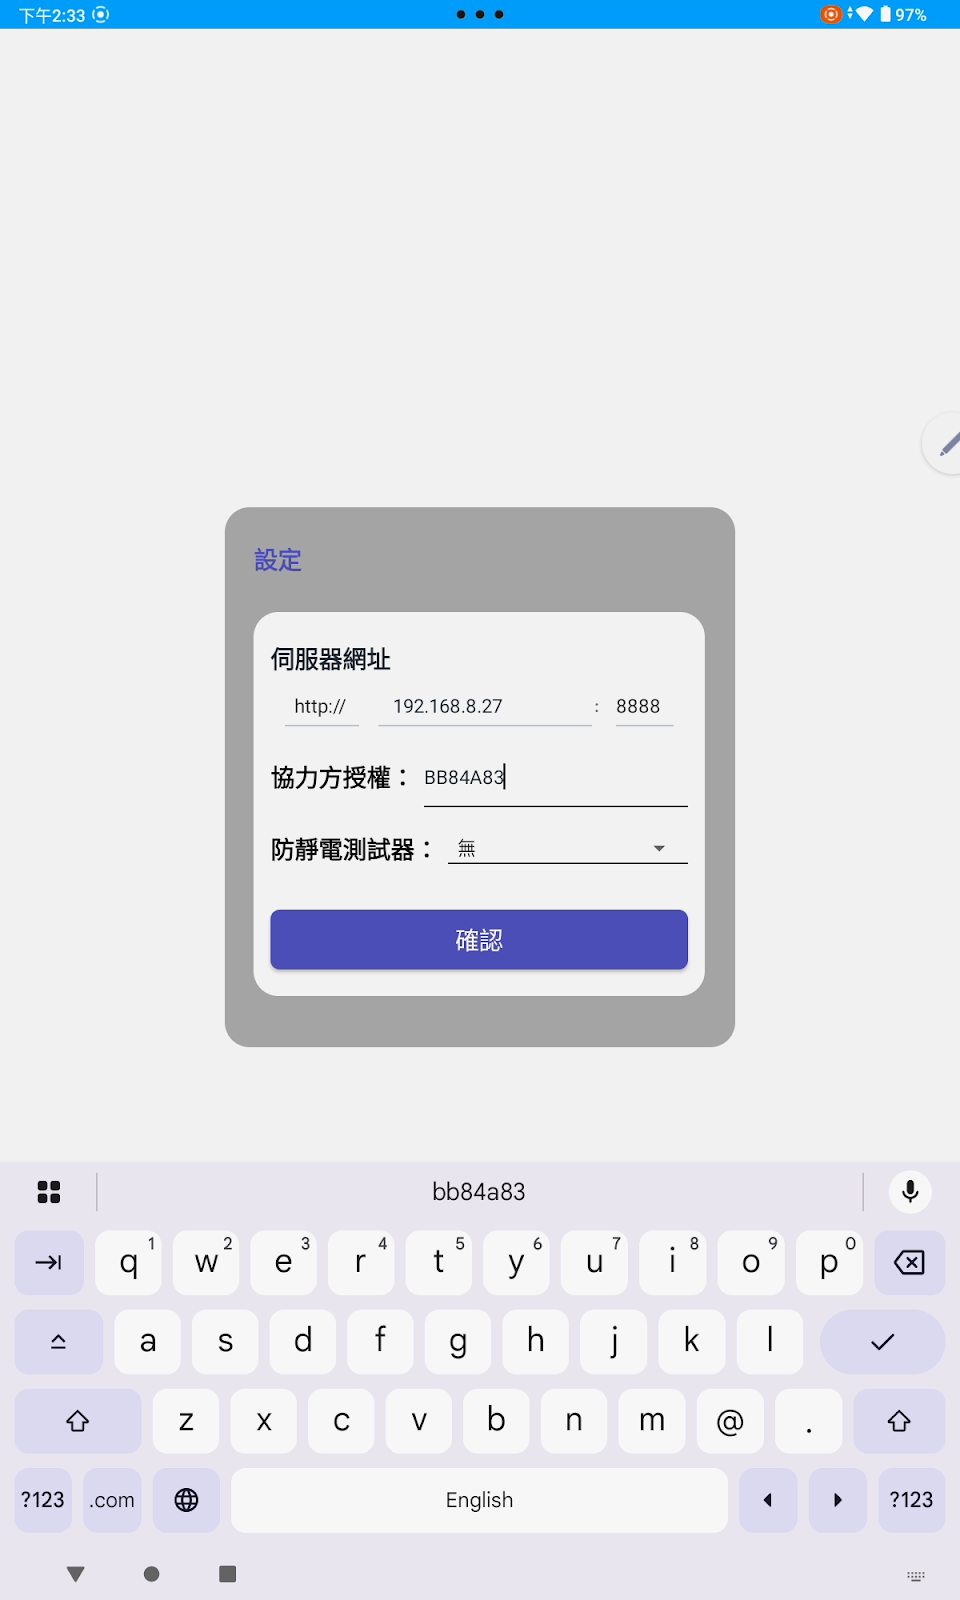
If this is the first time you are launching the App, you must first configure the FaceID API server address.
You can use the drop-down menu to select the transmission protocol supported by the API server (HTTPS or HTTP), and then enter the server's URL or IP, along with the corresponding port. If the server uses the HTTPS protocol and is listening on the standard 443 port, the port field can be left blank. Similarly, if the server listens on the standard HTTP 80 port, the port field can also be omitted.
Next, please enter the Buddy license ID.
If your service does not include the ESD Test Module, please keep the "ESD Tester" setting as "None."
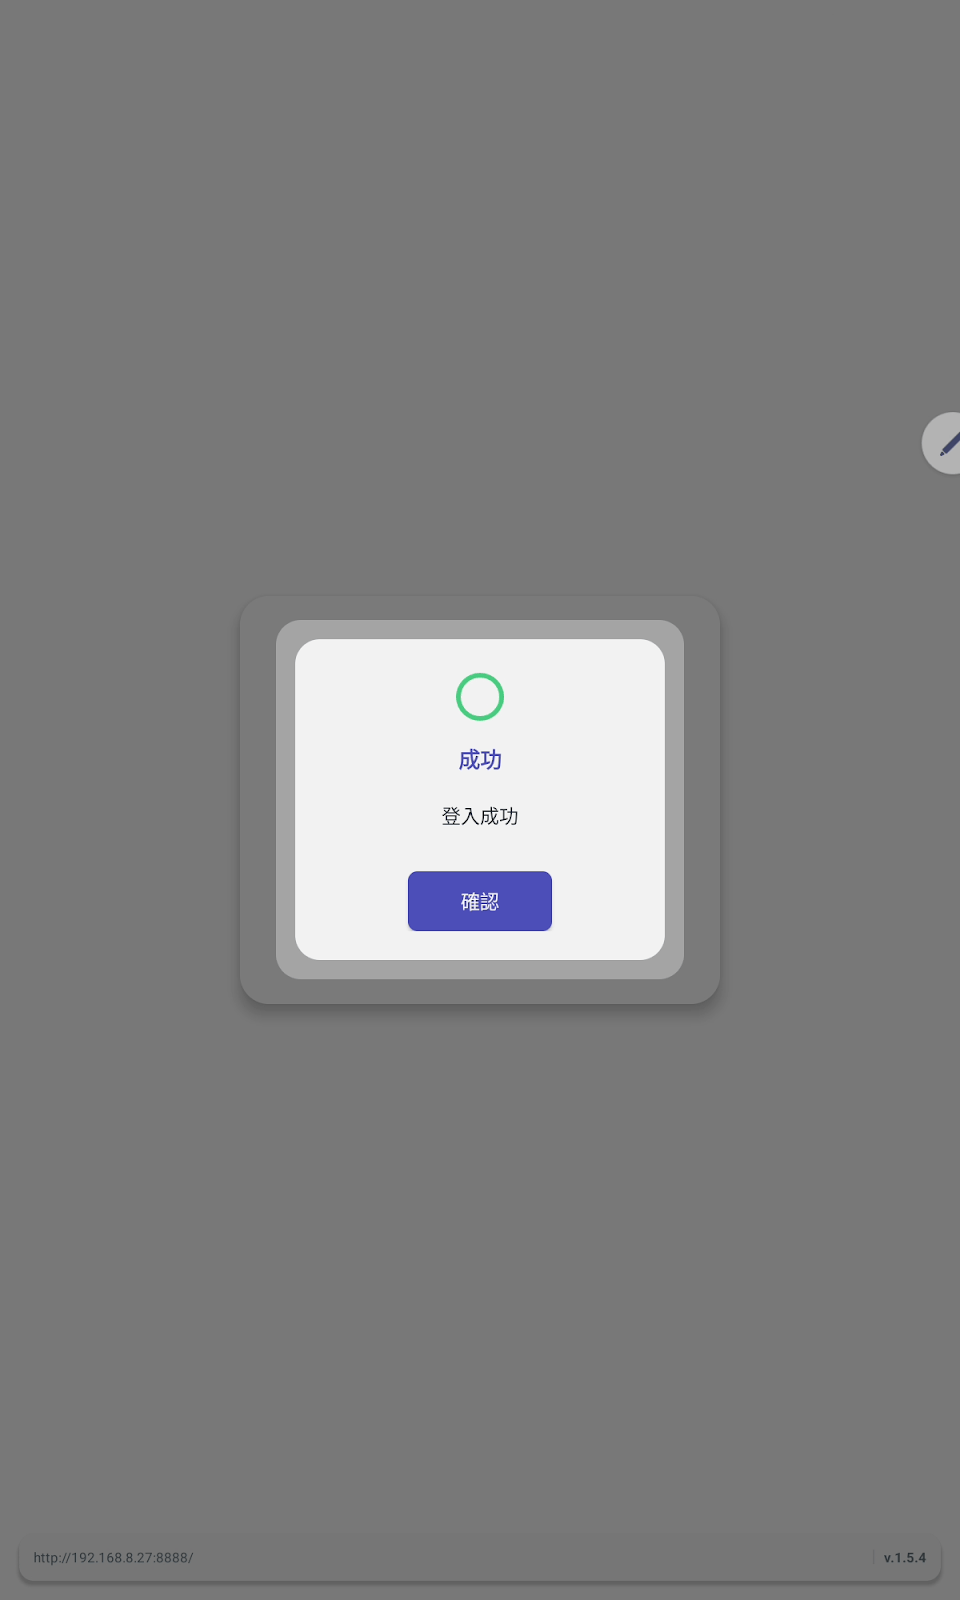
Finally, press the Confirm button. The App will automatically connect to the API server to verify your authorization. If the authorization is successful, a "Success" message will be displayed.
Work Mode: Card and Face Authentication
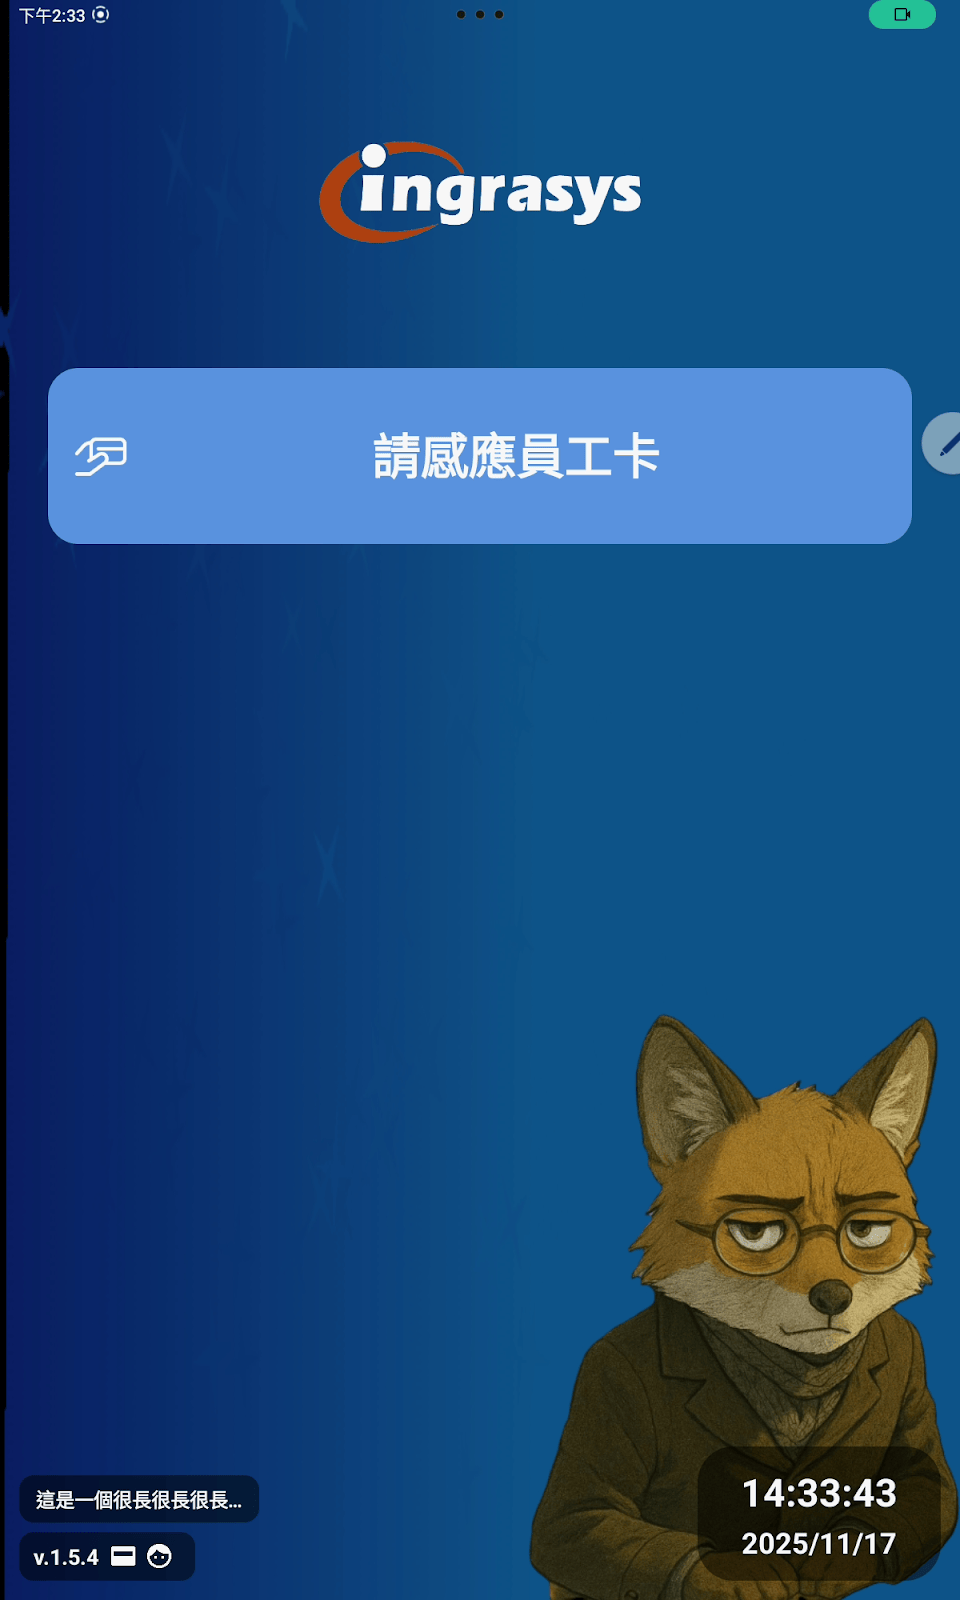
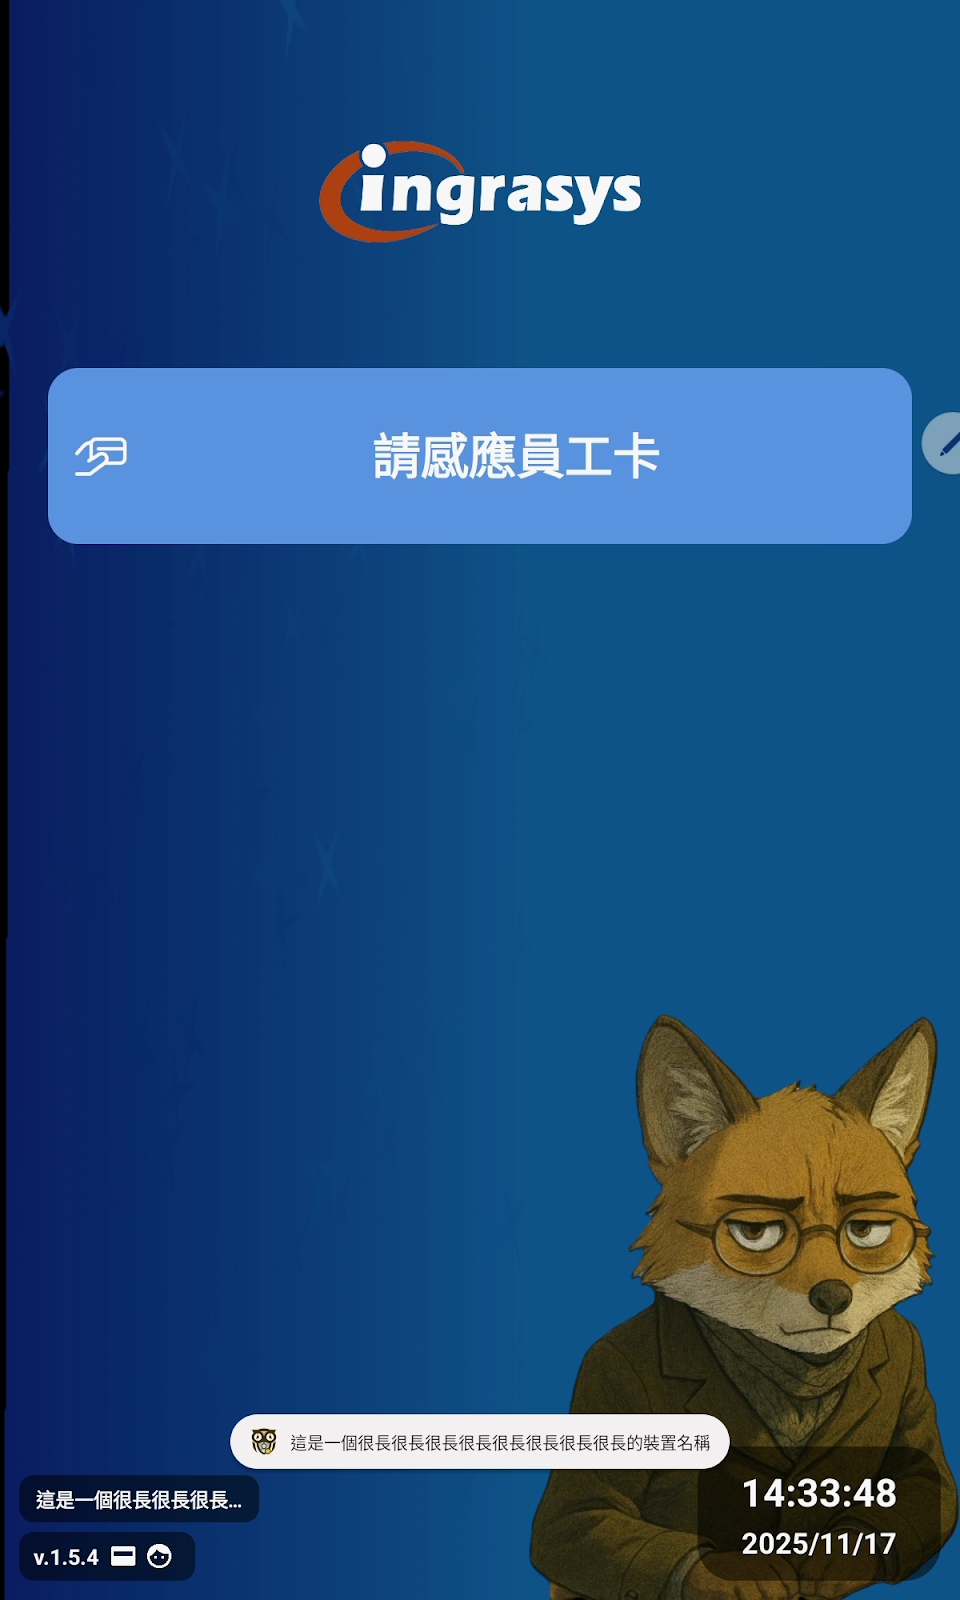
If your system administrator has configured the App's operating mode via the web interface to Card and Face Authentication, you will see the following welcome screen, awaiting your ID card verification.
After you have scanned your employee ID card using the RFID reader and the card has been successfully verified, the App will proceed to the Face Recognition operation screen.
Face Recognition Process
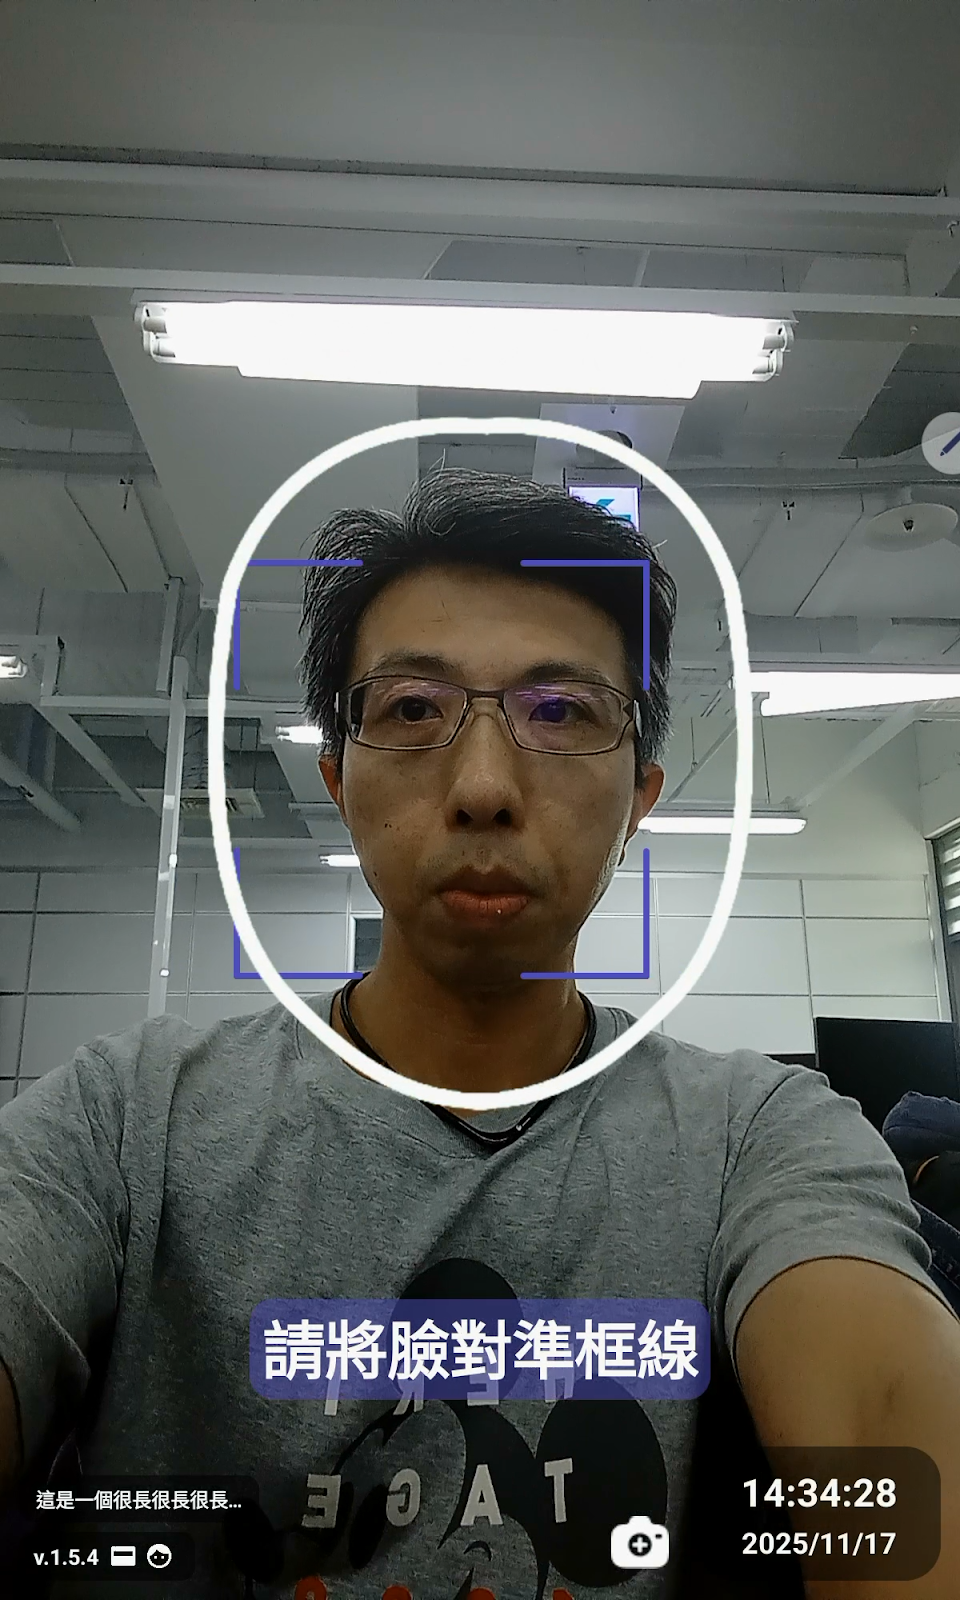
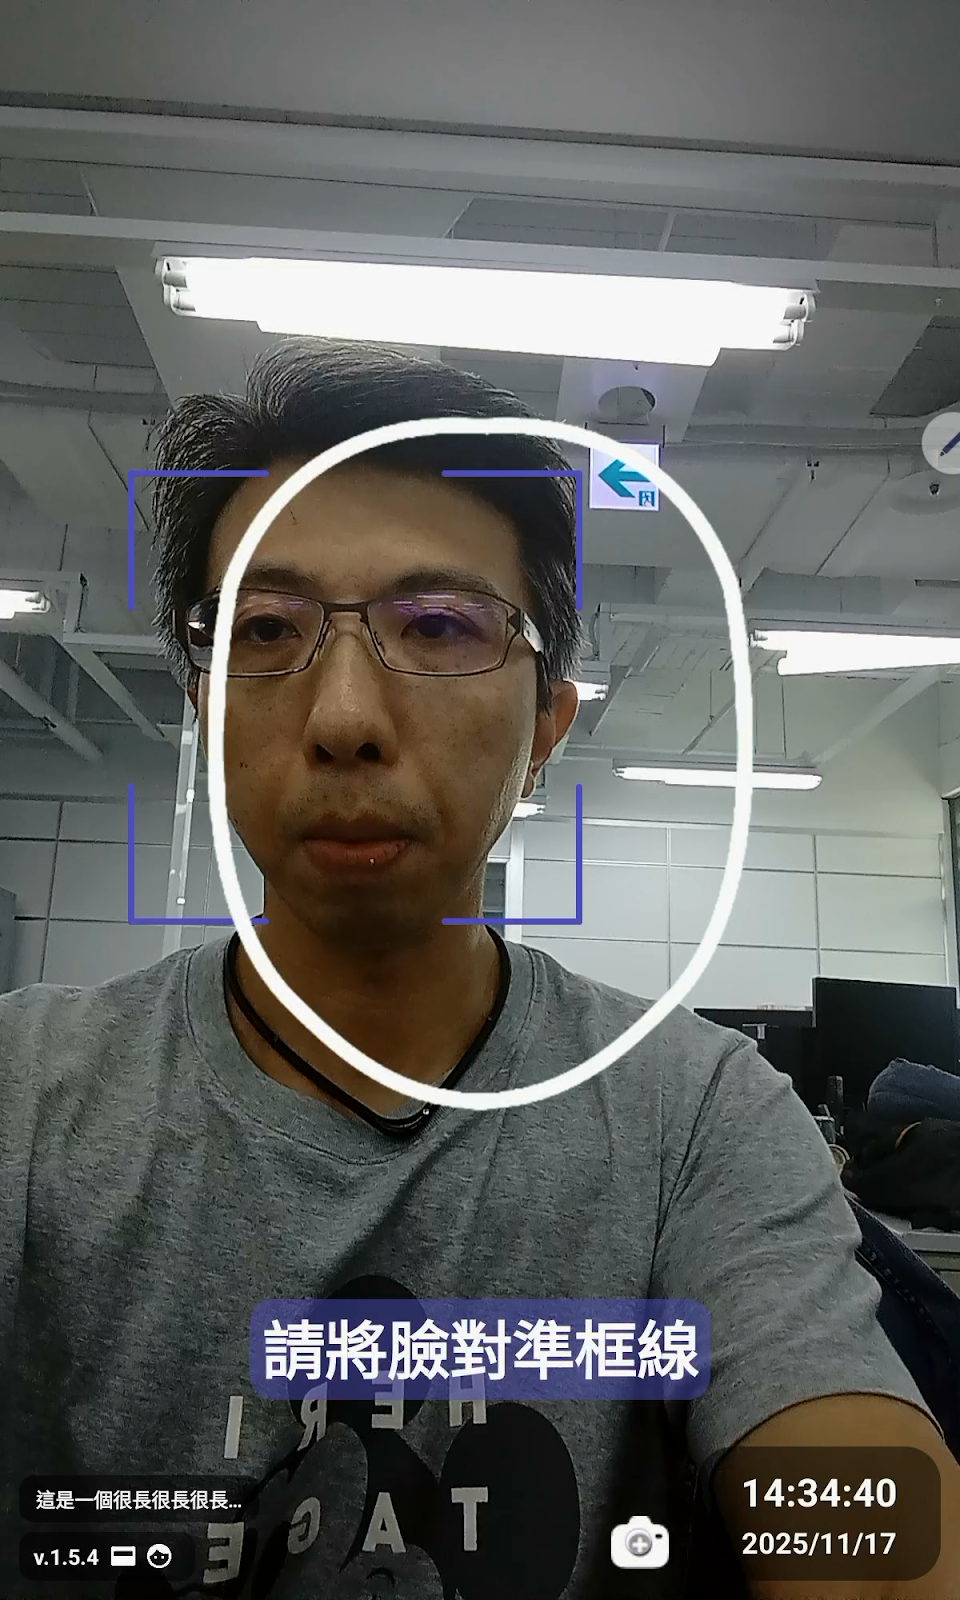
You will see a white, oval Face Recognition Guide Frame on the screen. Please adjust your face to be positioned within the boundaries of this guide frame.
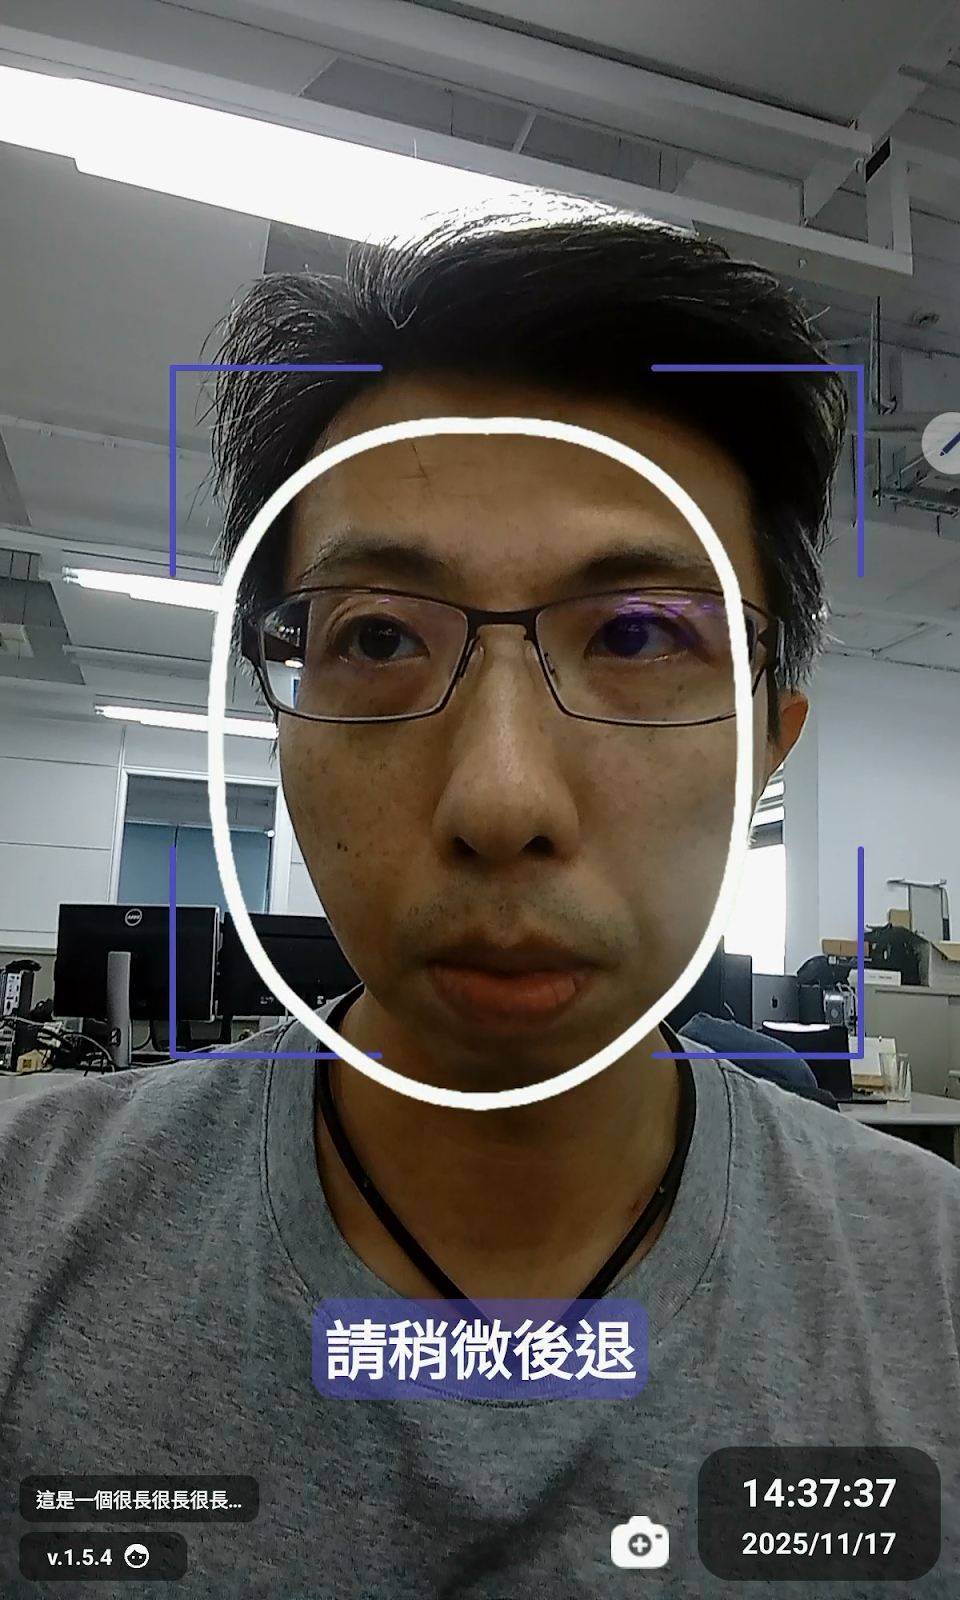
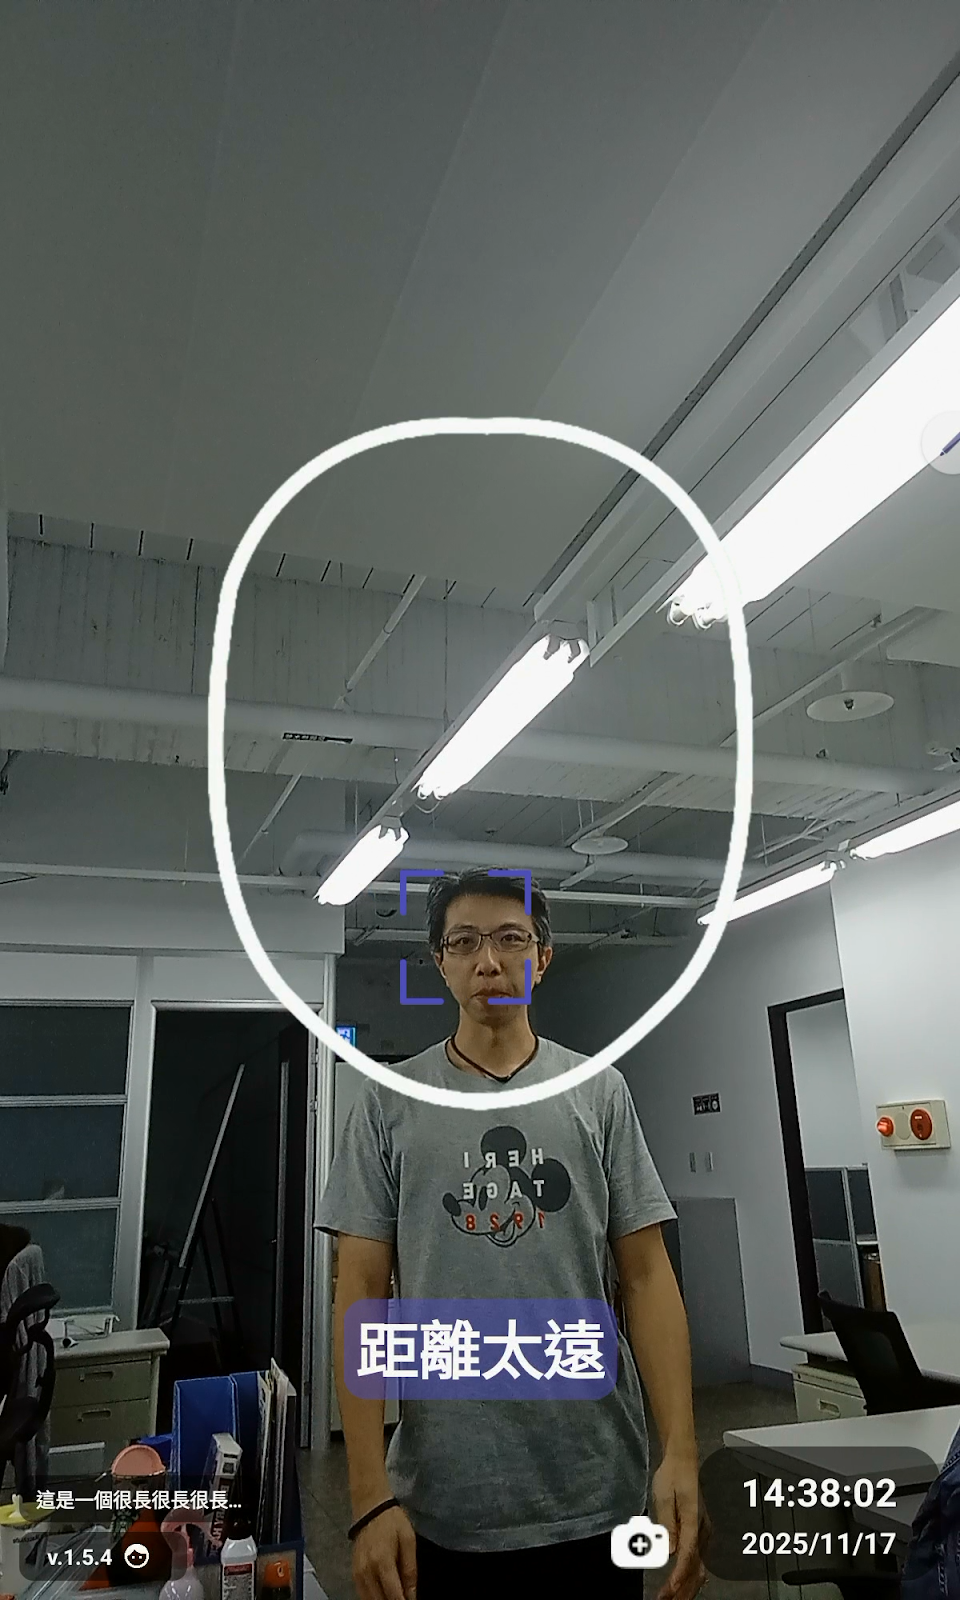
As you move your head, a blue-purple square box will indicate the position of your head. Below the white oval guide frame, the App will display a text box with a blue-purple translucent background, prompting you on how to move your head to achieve the best recognition result. These hints include "Please align your face with the frame," "Please step back slightly," and "Too far away," etc.
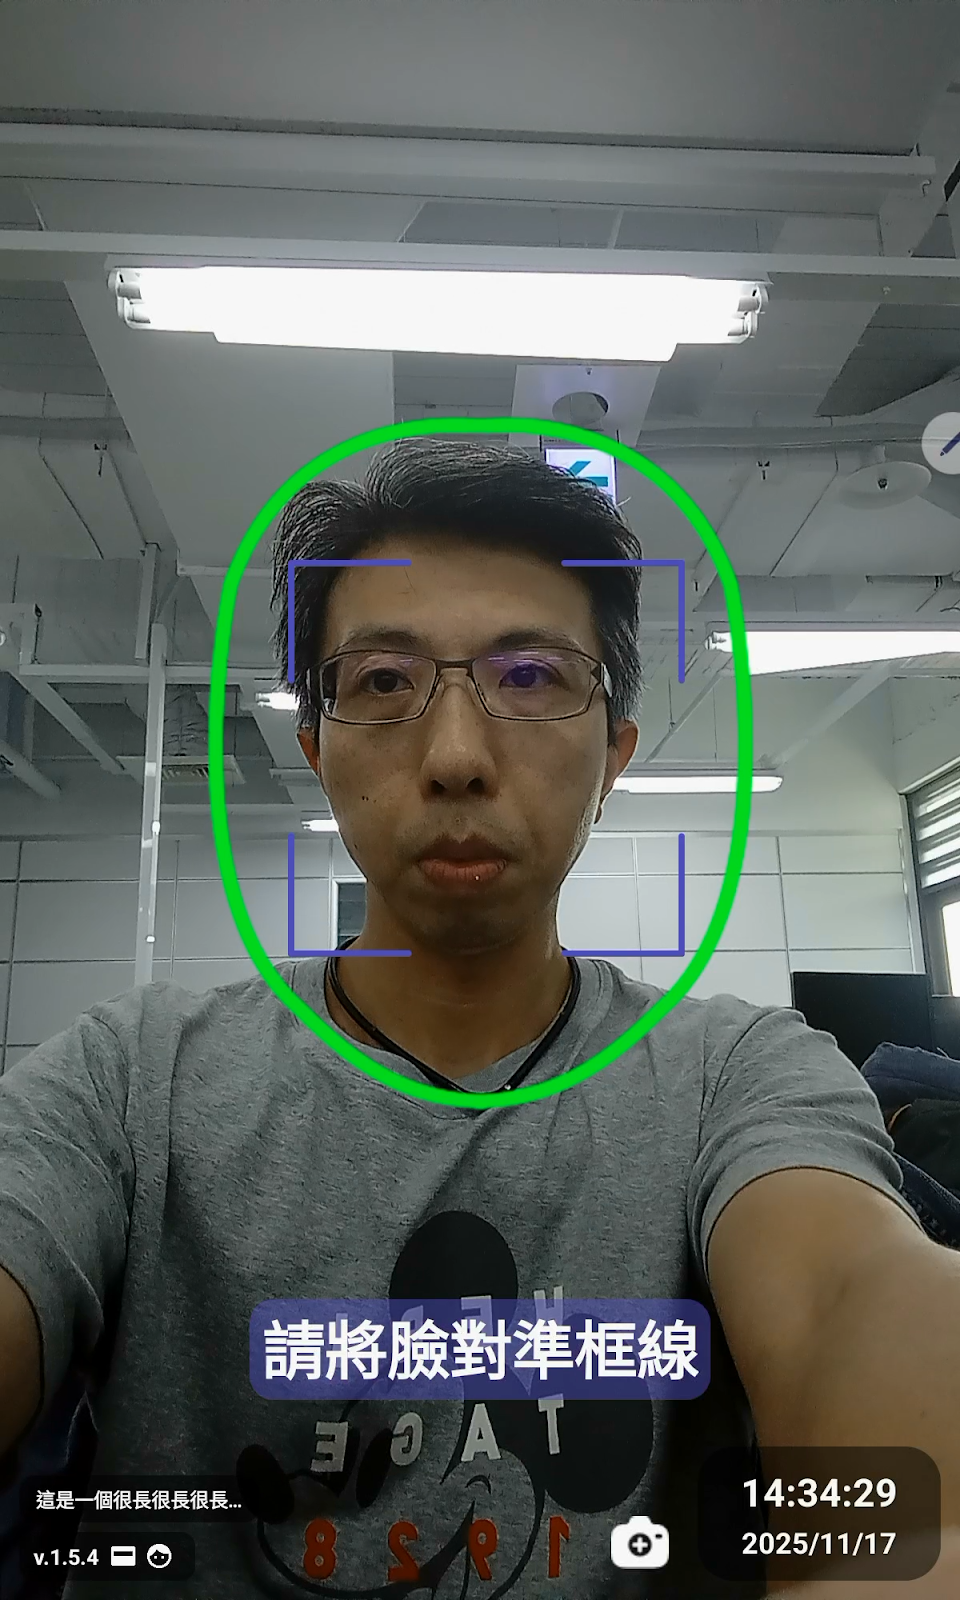
When the App determines that the distance between your face and the camera is appropriate and your head-turning angle is in a neutral position, the App will capture a screenshot of your face and transmit it to the server for Face Recognition. At this point, the original white oval guide frame will turn fluorescent green.
Note: "Head-turning angle in a neutral position" refers to the head not being in excessive flexion, extension, lateral flexion, or rotation. (Flexion: Head bends forward, chin close to the chest. Extension: Head tilts backward. Lateral Flexion: Head tilts towards one shoulder. Rotation: Head turns left or right.)
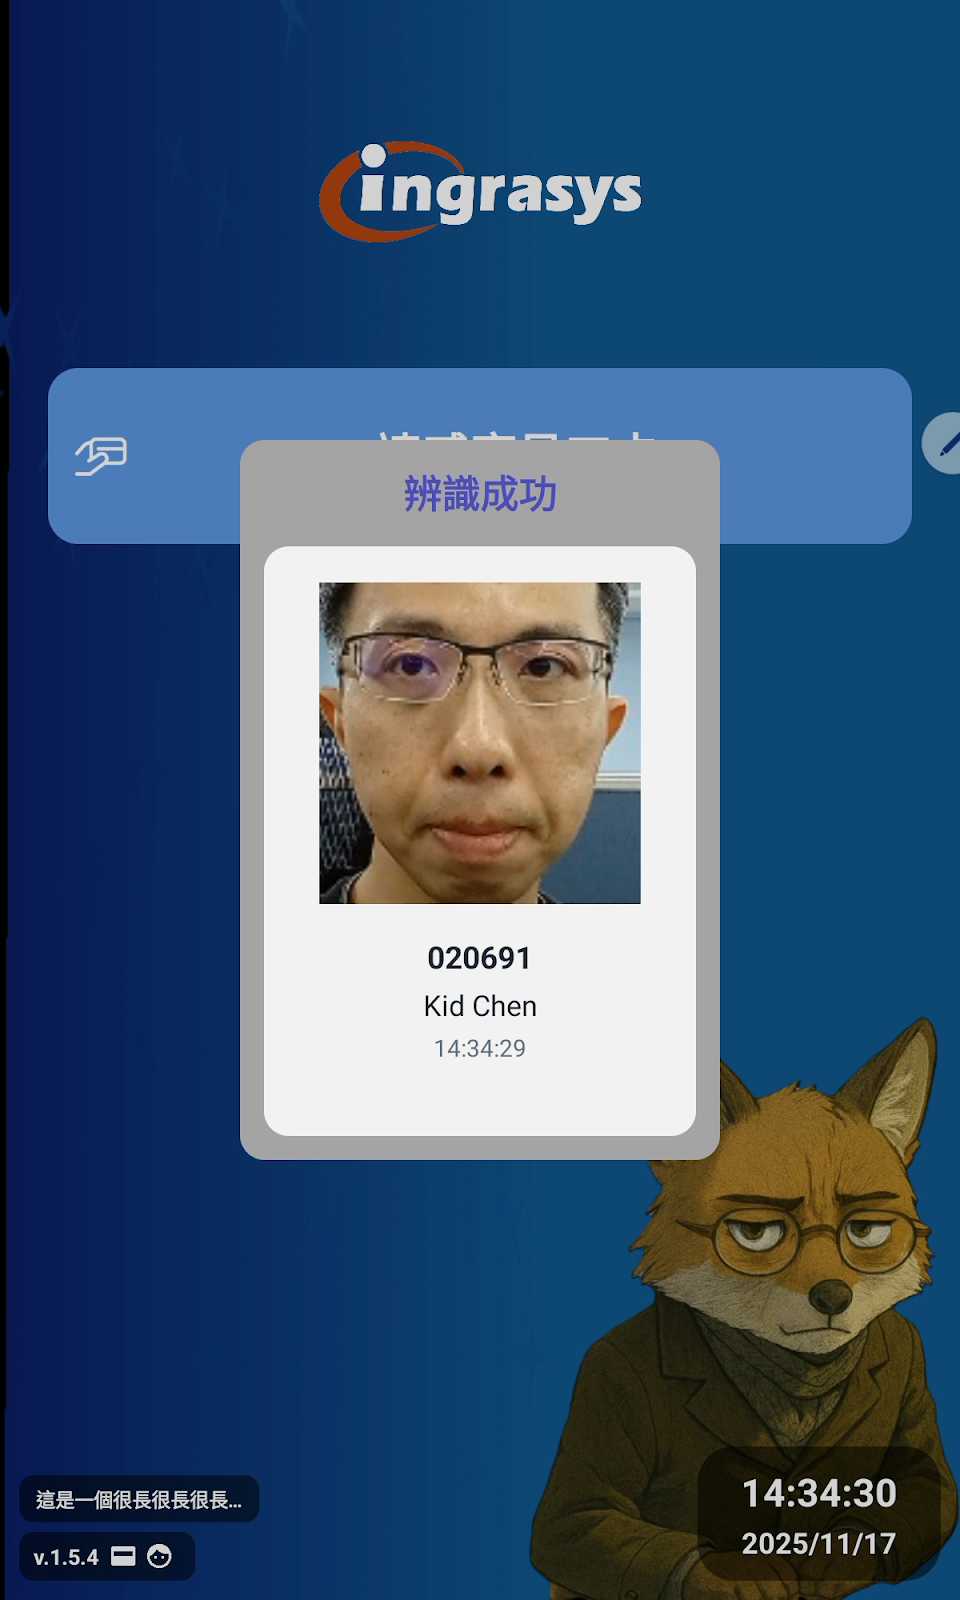
If recognition is successful, the App will display a small result card, indicating the recognition was successful, showing your Name / Employee ID, and the timestamp of this Face Recognition record.
Work Mode: Face Authentication Only
If your system administrator has configured the App's operating mode via the web interface to Face Authentication Only, you will see the following welcome screen. When the App detects a face in front of the camera, it will proceed to the Face Recognition operation screen. The Face Recognition operation process is the same as described in the "Work Mode: Card and Face Authentication" section.

Add Face Photo
In addition to the standard operations ("Card Verification" and "Face Recognition"), the App also provides a function for users to Add Photo. The purpose of this function is: when a user's appearance changes significantly (e.g., due to a facial injury), the user can add a new face photo to the face dataset on the backend API server to improve the recognition rate.
If you wish to add a face photo, you can press the Camera Icon next to the Time Block in the lower right corner of the Face Recognition screen.
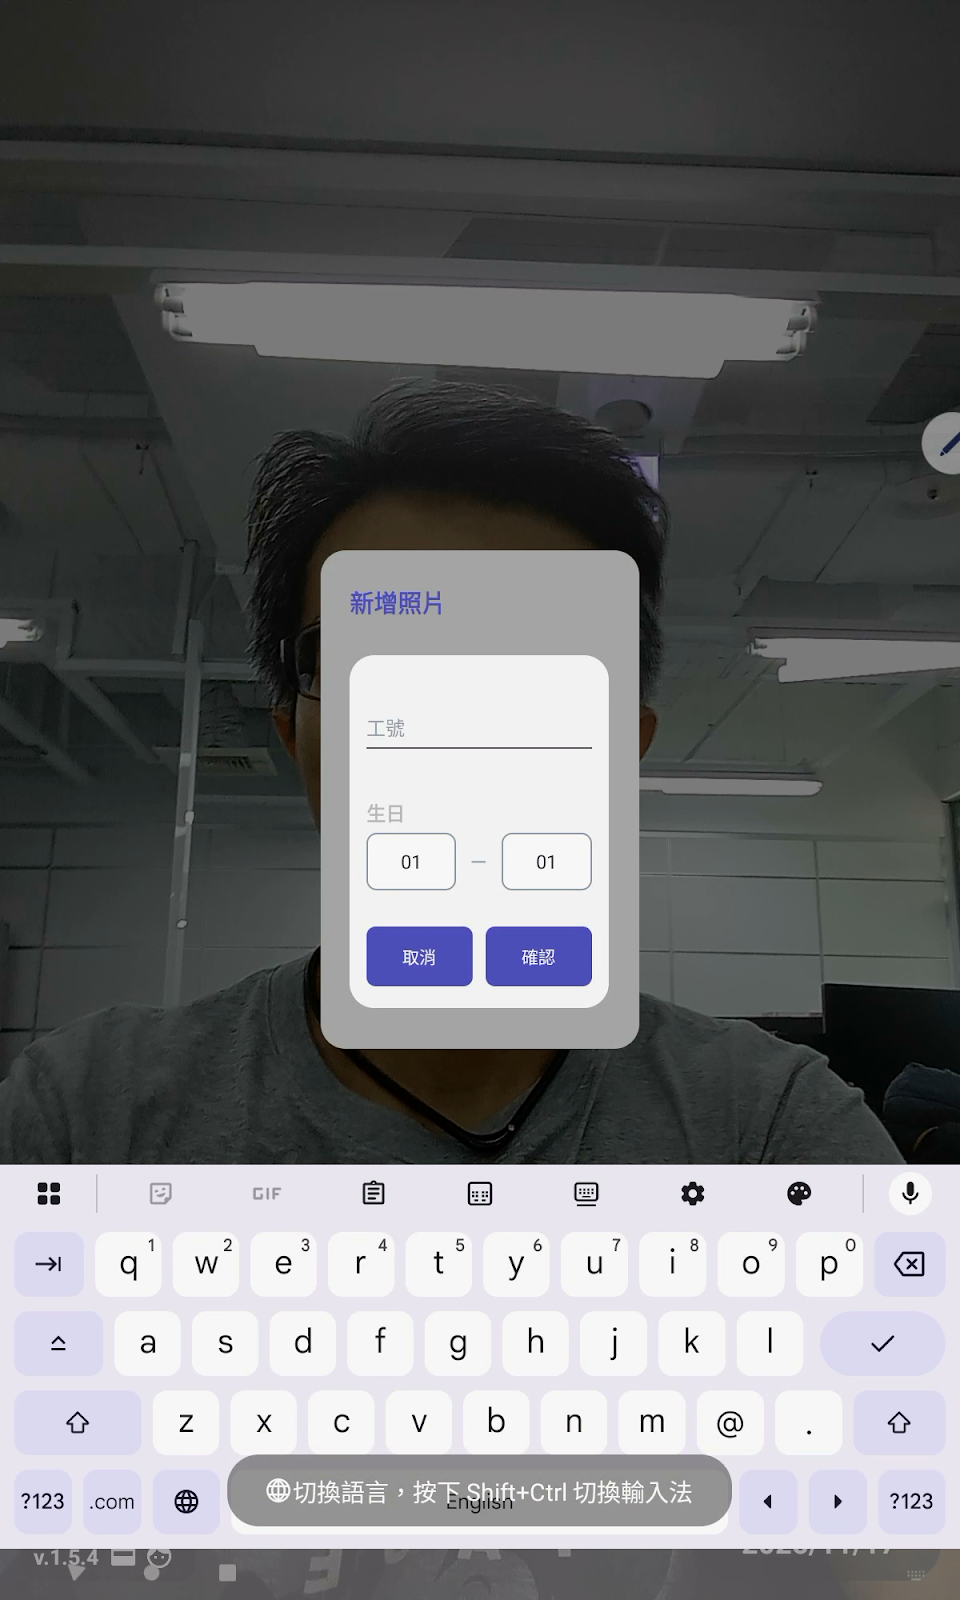
After pressing the Camera Icon, you will be asked to first enter your Employee ID and Date of Birth for a simple identity verification.
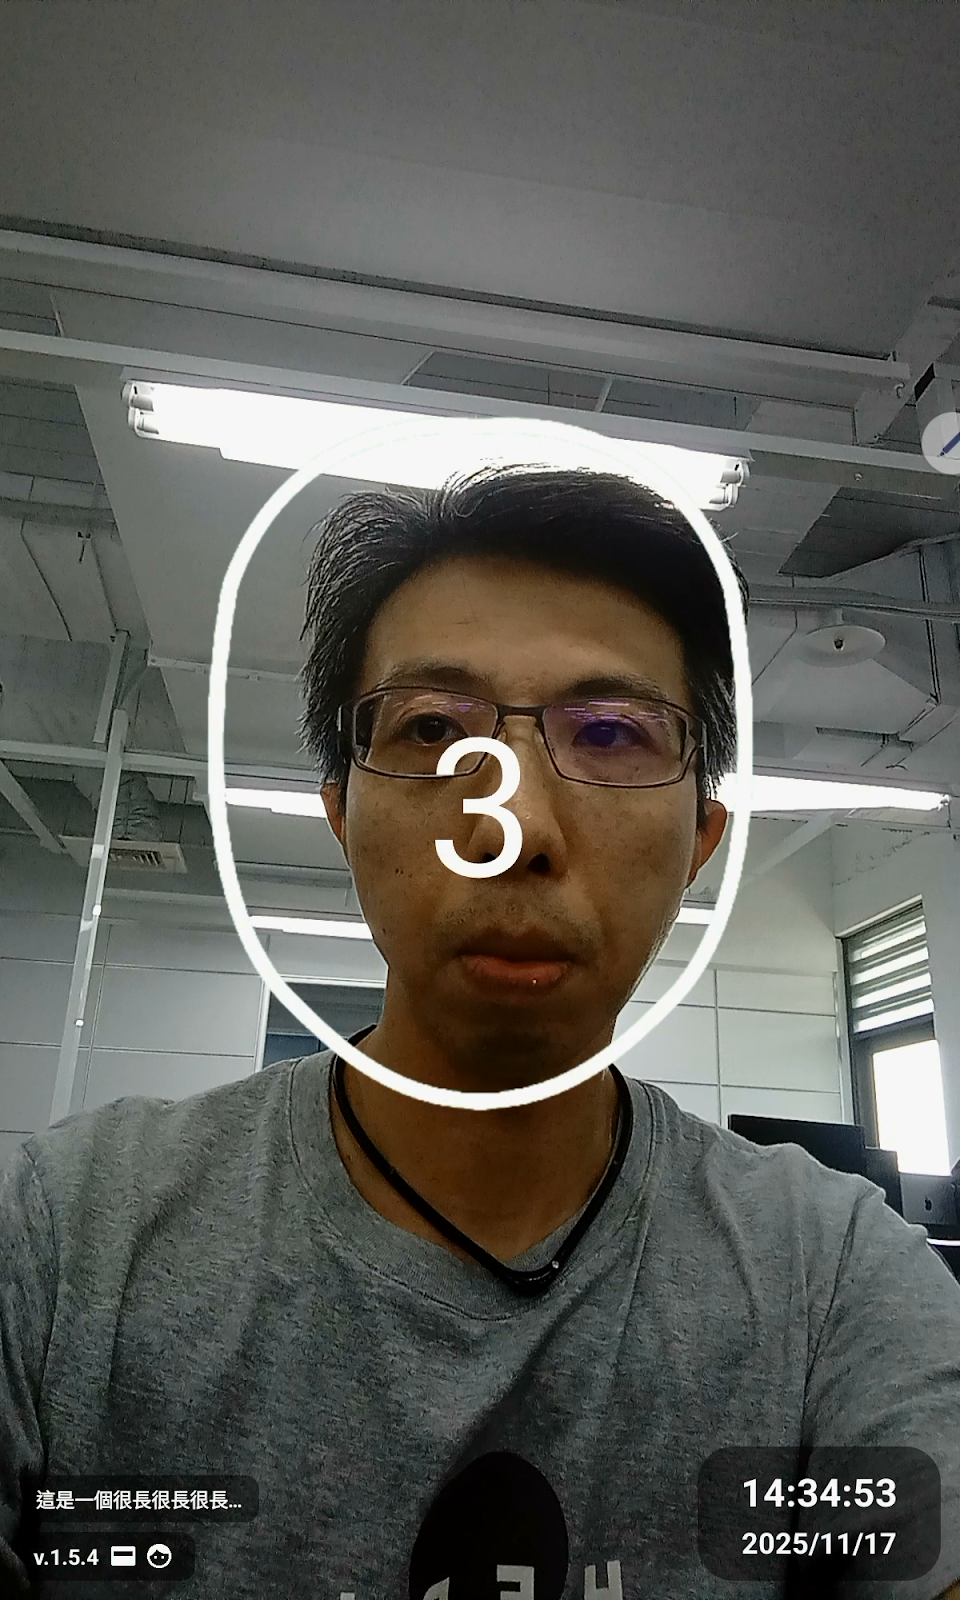
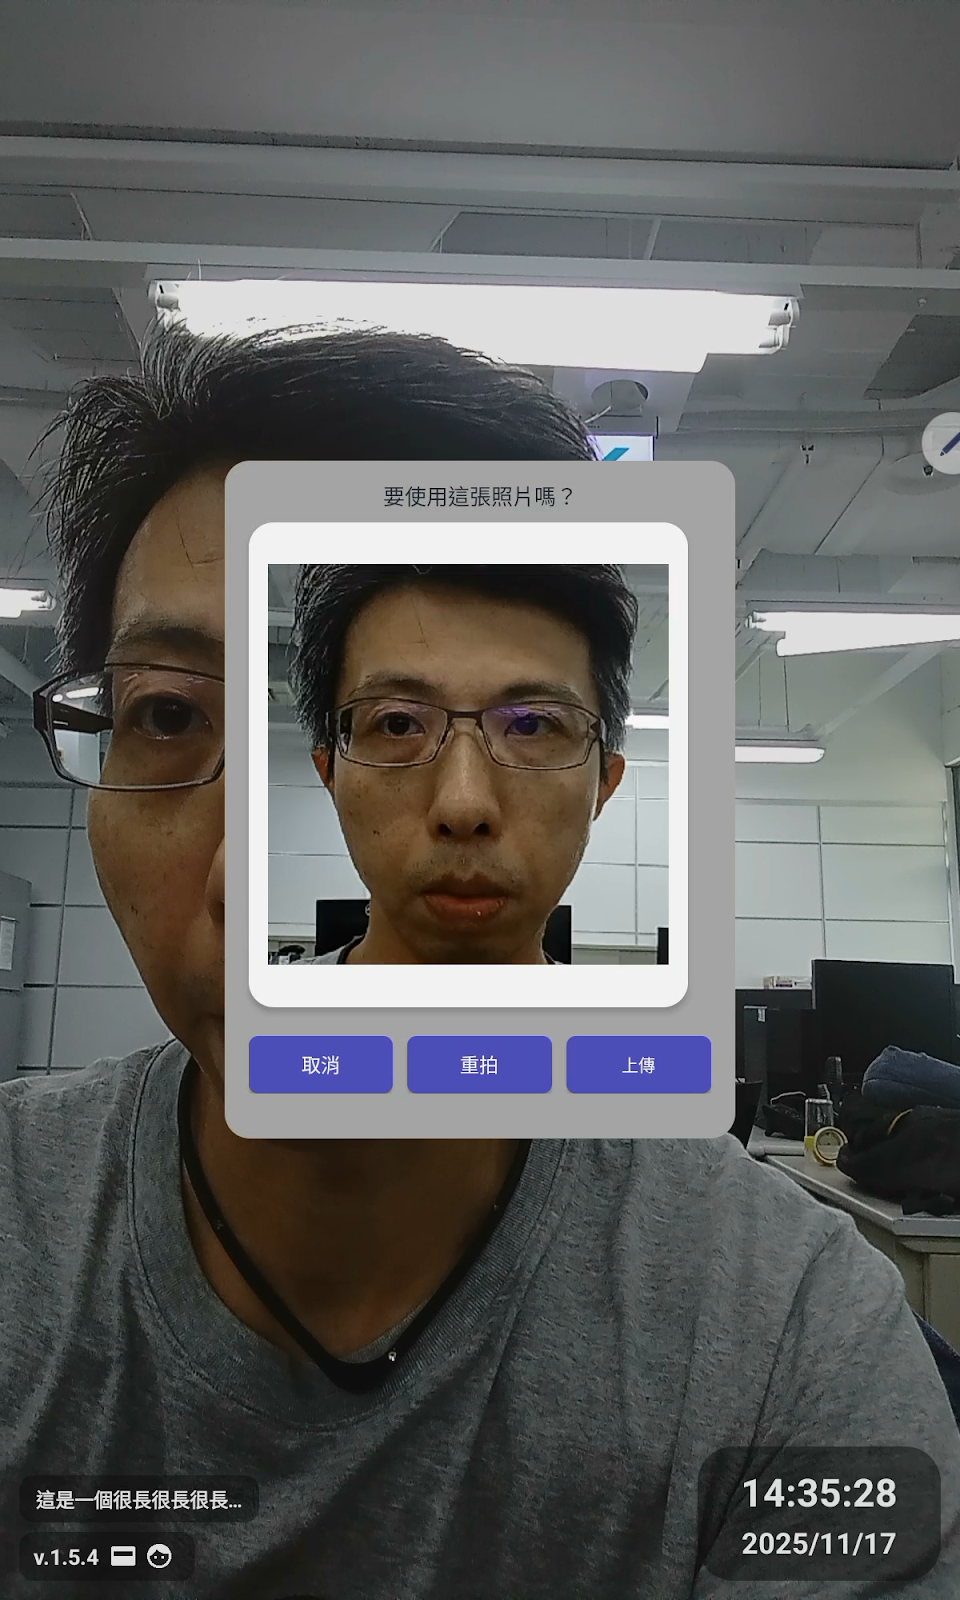
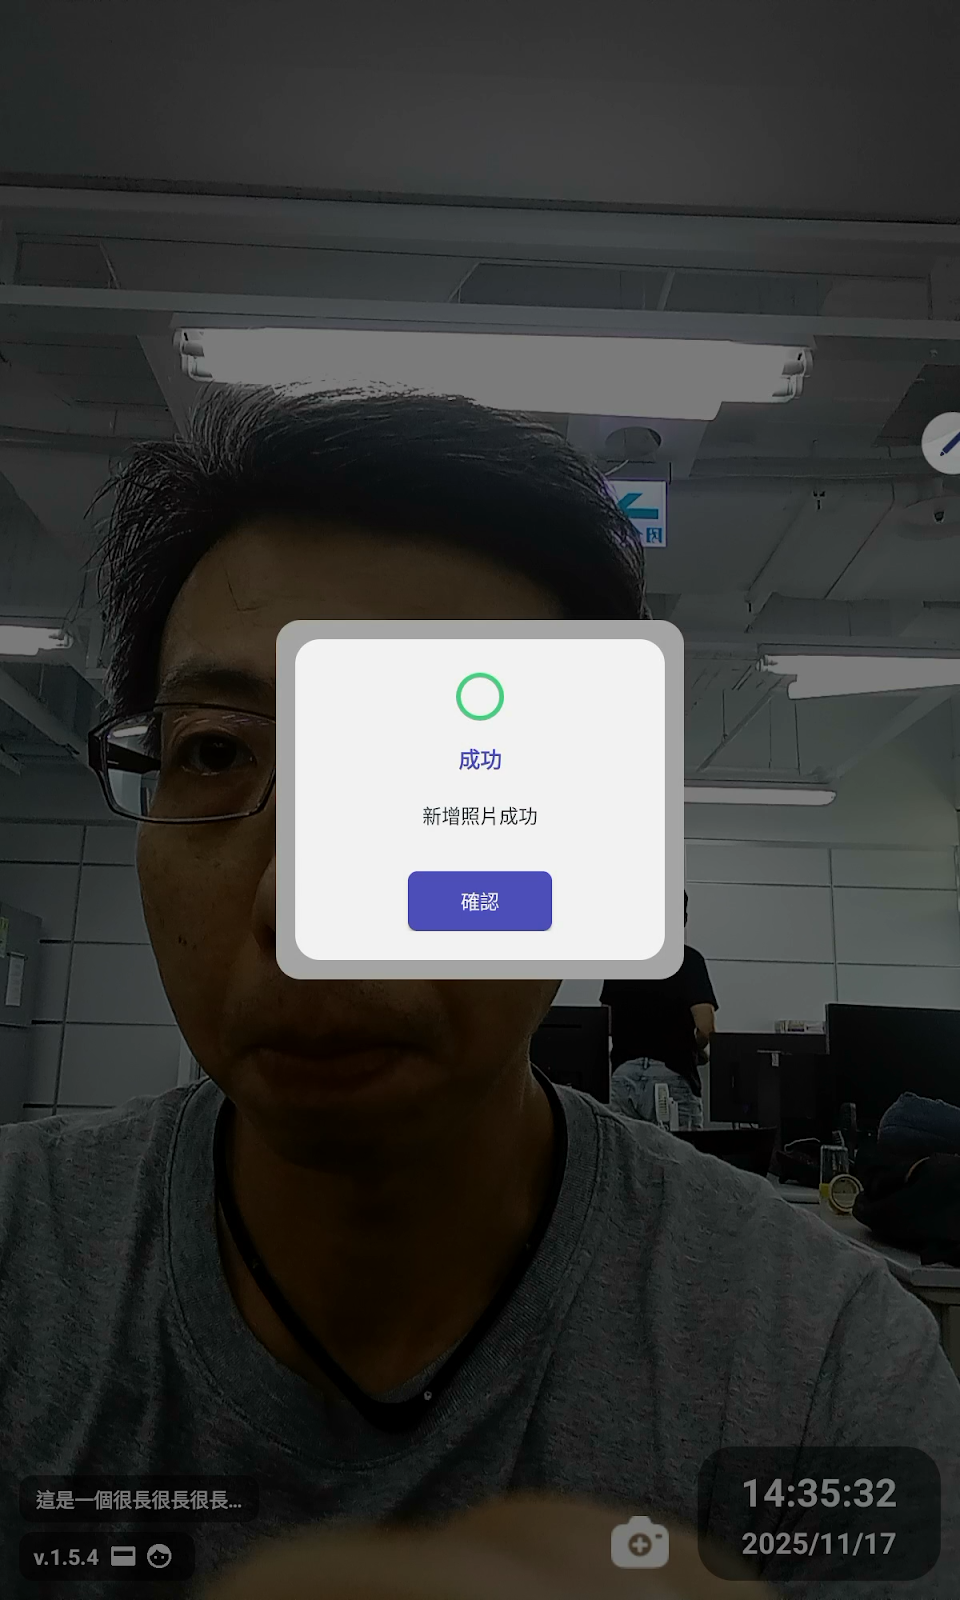
Next, a 3, 2, 1 countdown will begin within the white oval guide frame. When the countdown ends, the camera will take a picture of your current face. A dialogue box will then appear, asking you to confirm whether you want to upload this photo directly. In this dialogue box, you can choose to take the photo Again (the 3, 2, 1 countdown will restart), or you can choose to cancel the add photo operation. If you choose to upload the photo, a "Photo added successfully" message will be displayed after the server accepts your upload request.
System Information and Management Settings
Apart from the general daily operations ("Card Verification," "Face Recognition," and "Add Face Photo"), the bottom of the welcome screen also contains information blocks and system settings, which are explained here.
First, observe the lower left corner of the welcome screen in the example below, where a block displays the Device Name of the collaborating device. If you see content such as "This is a very very very long...", it indicates the device name is long, and you can click this block to display the complete device name.
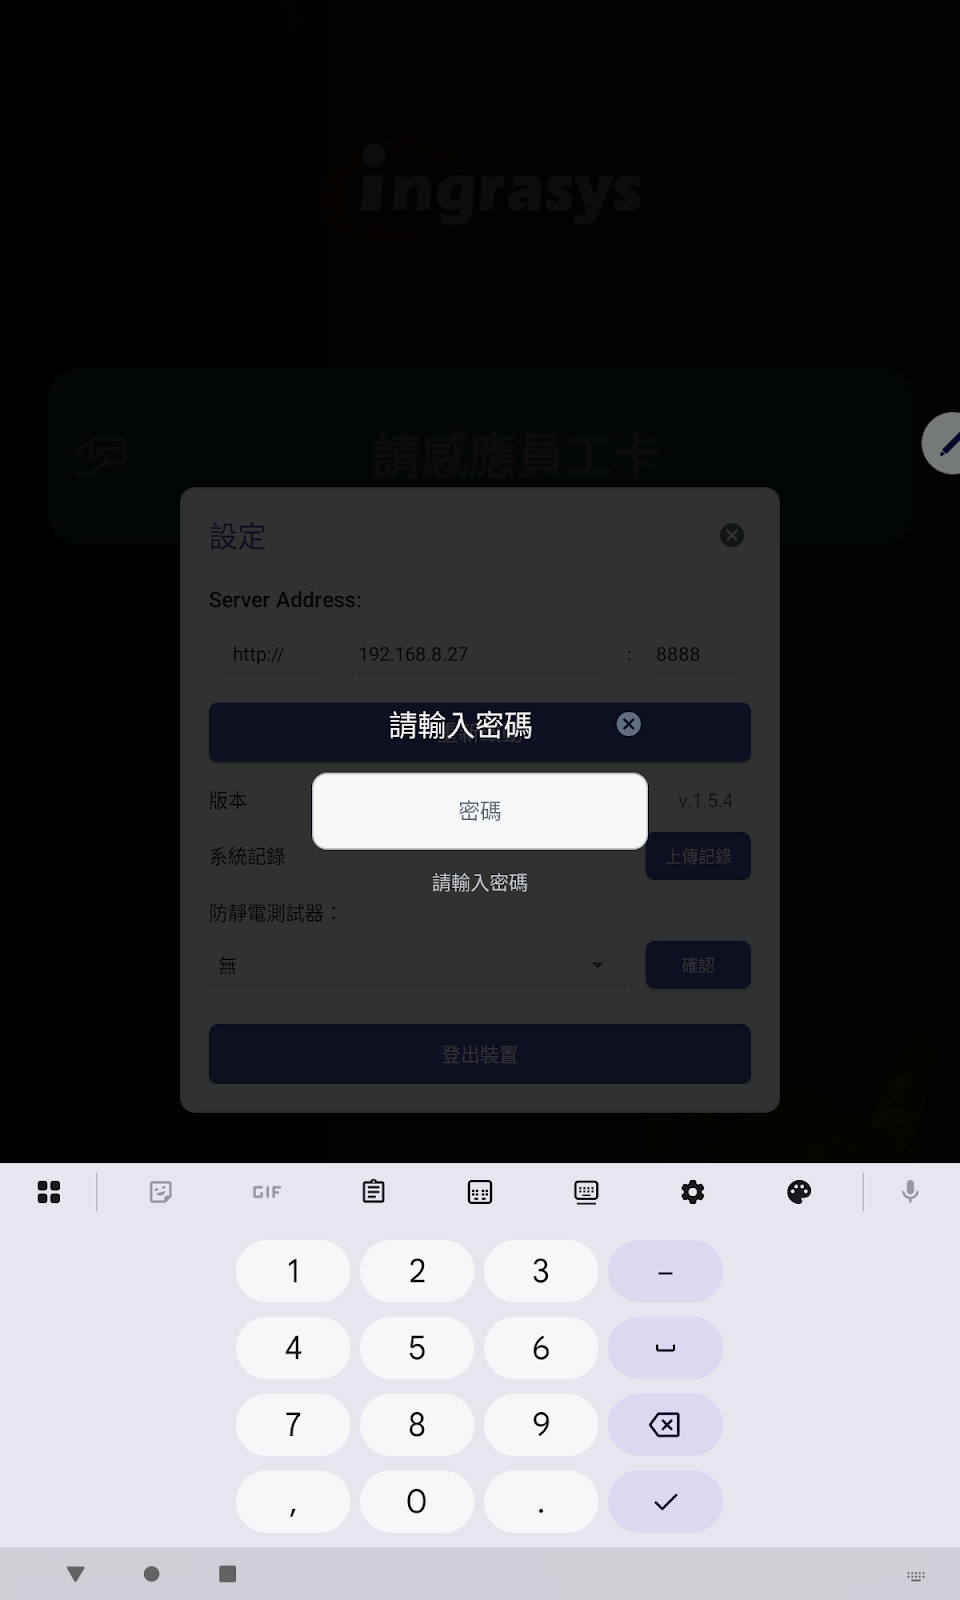
Furthermore, the v.1.5.4 block in the lower left corner includes the version number of the currently running App and the operating mode (Card and Face Authentication / Face Authentication Only, etc.). Clicking this block will display a small Gear Icon button to its right. Clicking the Gear Icon allows you to enter the System Settings menu.
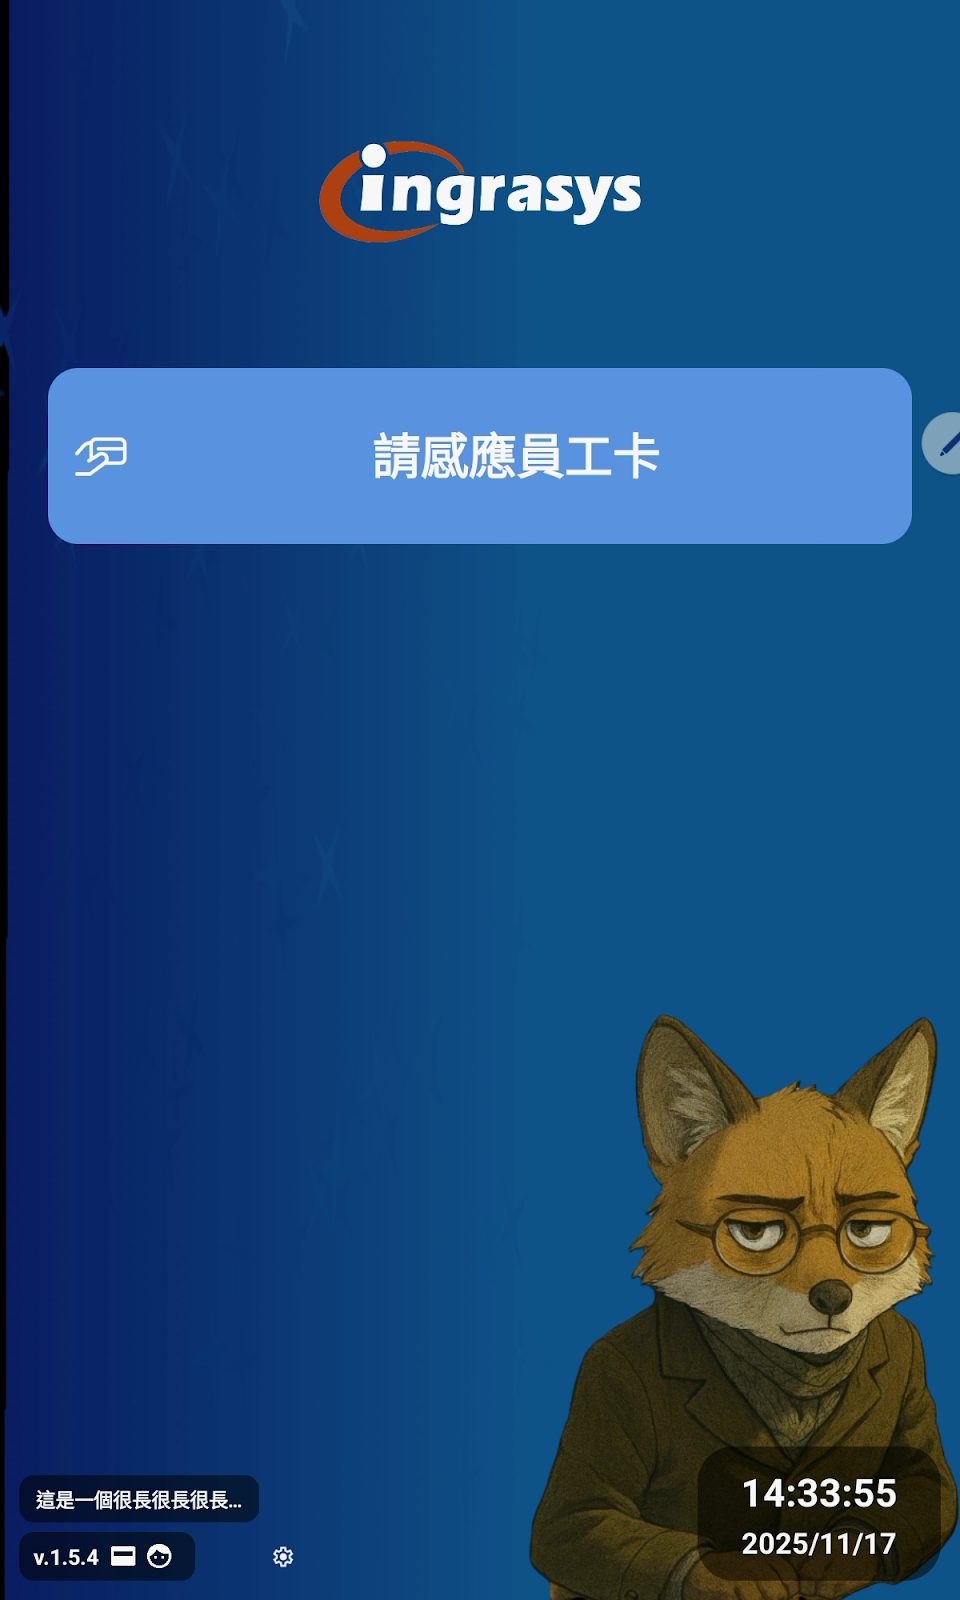
To prevent accidental operation by regular users, this settings menu is protected by a fixed simple passcode (the passcode is 2317). The purpose of this code is error-proofing, not security protection, which is why a fixed passcode is used. This prevents excessive engineering design and avoids the trouble of forgetting a password if it were frequently changed.
If the passcode is correctly verified, you will see the screen for modifying App settings. This includes modifying the API Server address (along with a Restart button to reboot the app for changes to take effect), a button to Upload App System Logs, a button to modify the ESD Tester model, and a Logout Device button.
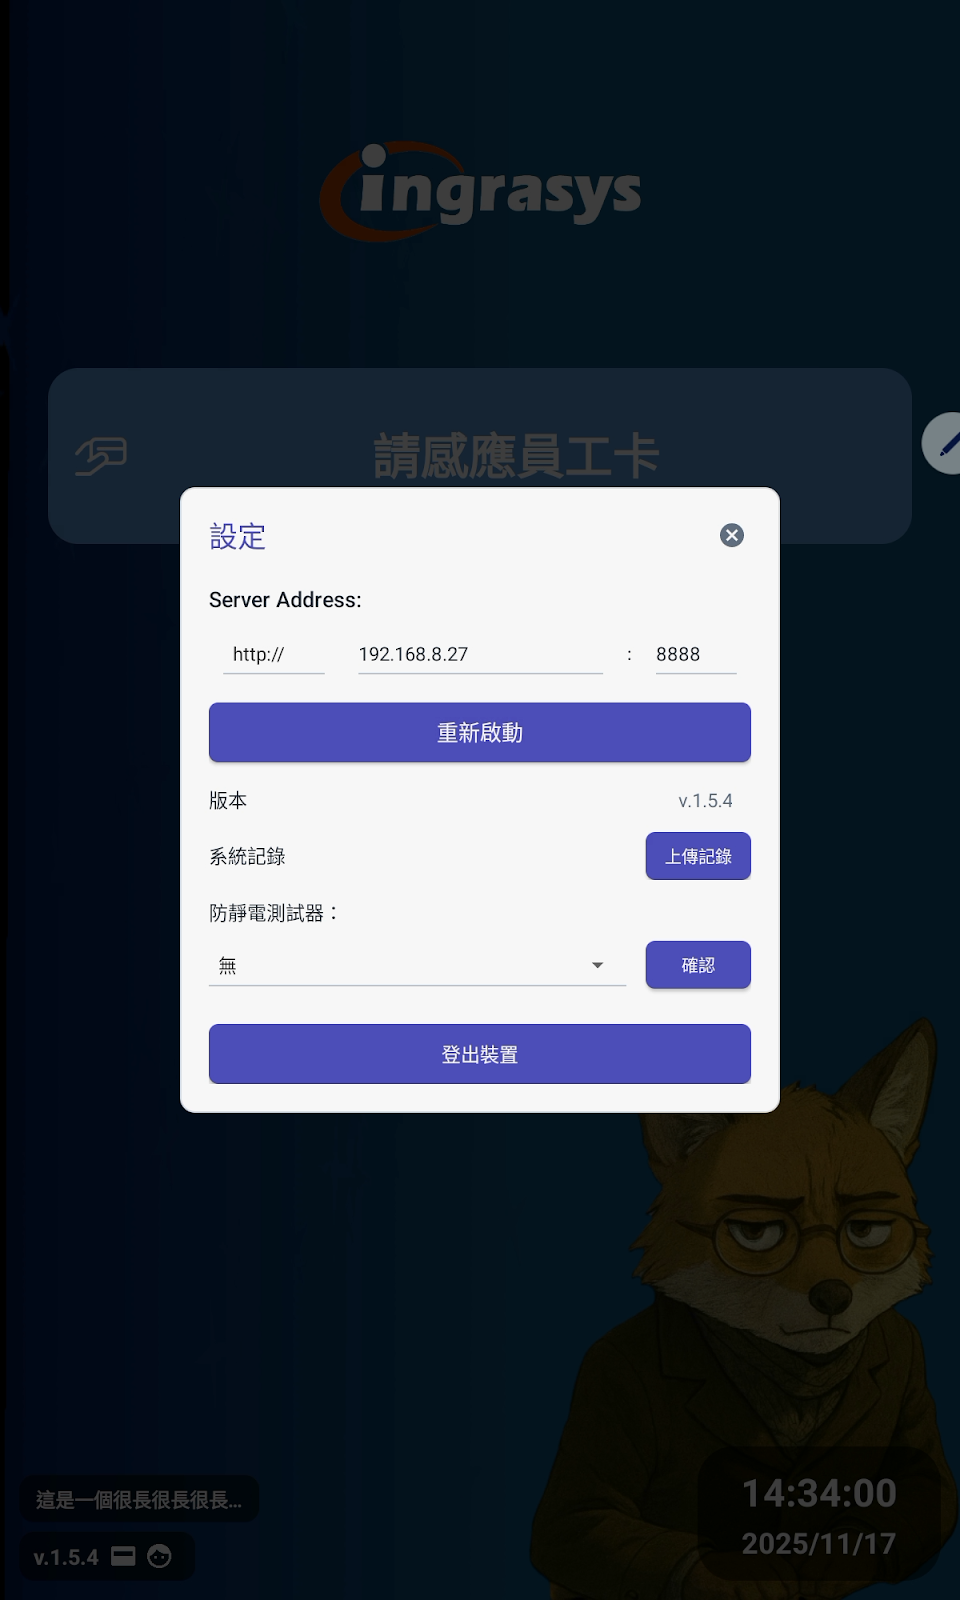
Under normal circumstances, you do not need to manage these settings. However, if your unit changes the server location, or if the App encounters serious bugs, you can operate these settings with the assistance of an engineer to resolve the issue.